最近看一个app的源码,发现基本没有用第三方的开源组件,但是特效也做得不错,总结一下实现的思路
<!--more-->
简单的抽屉效果
效果如图:
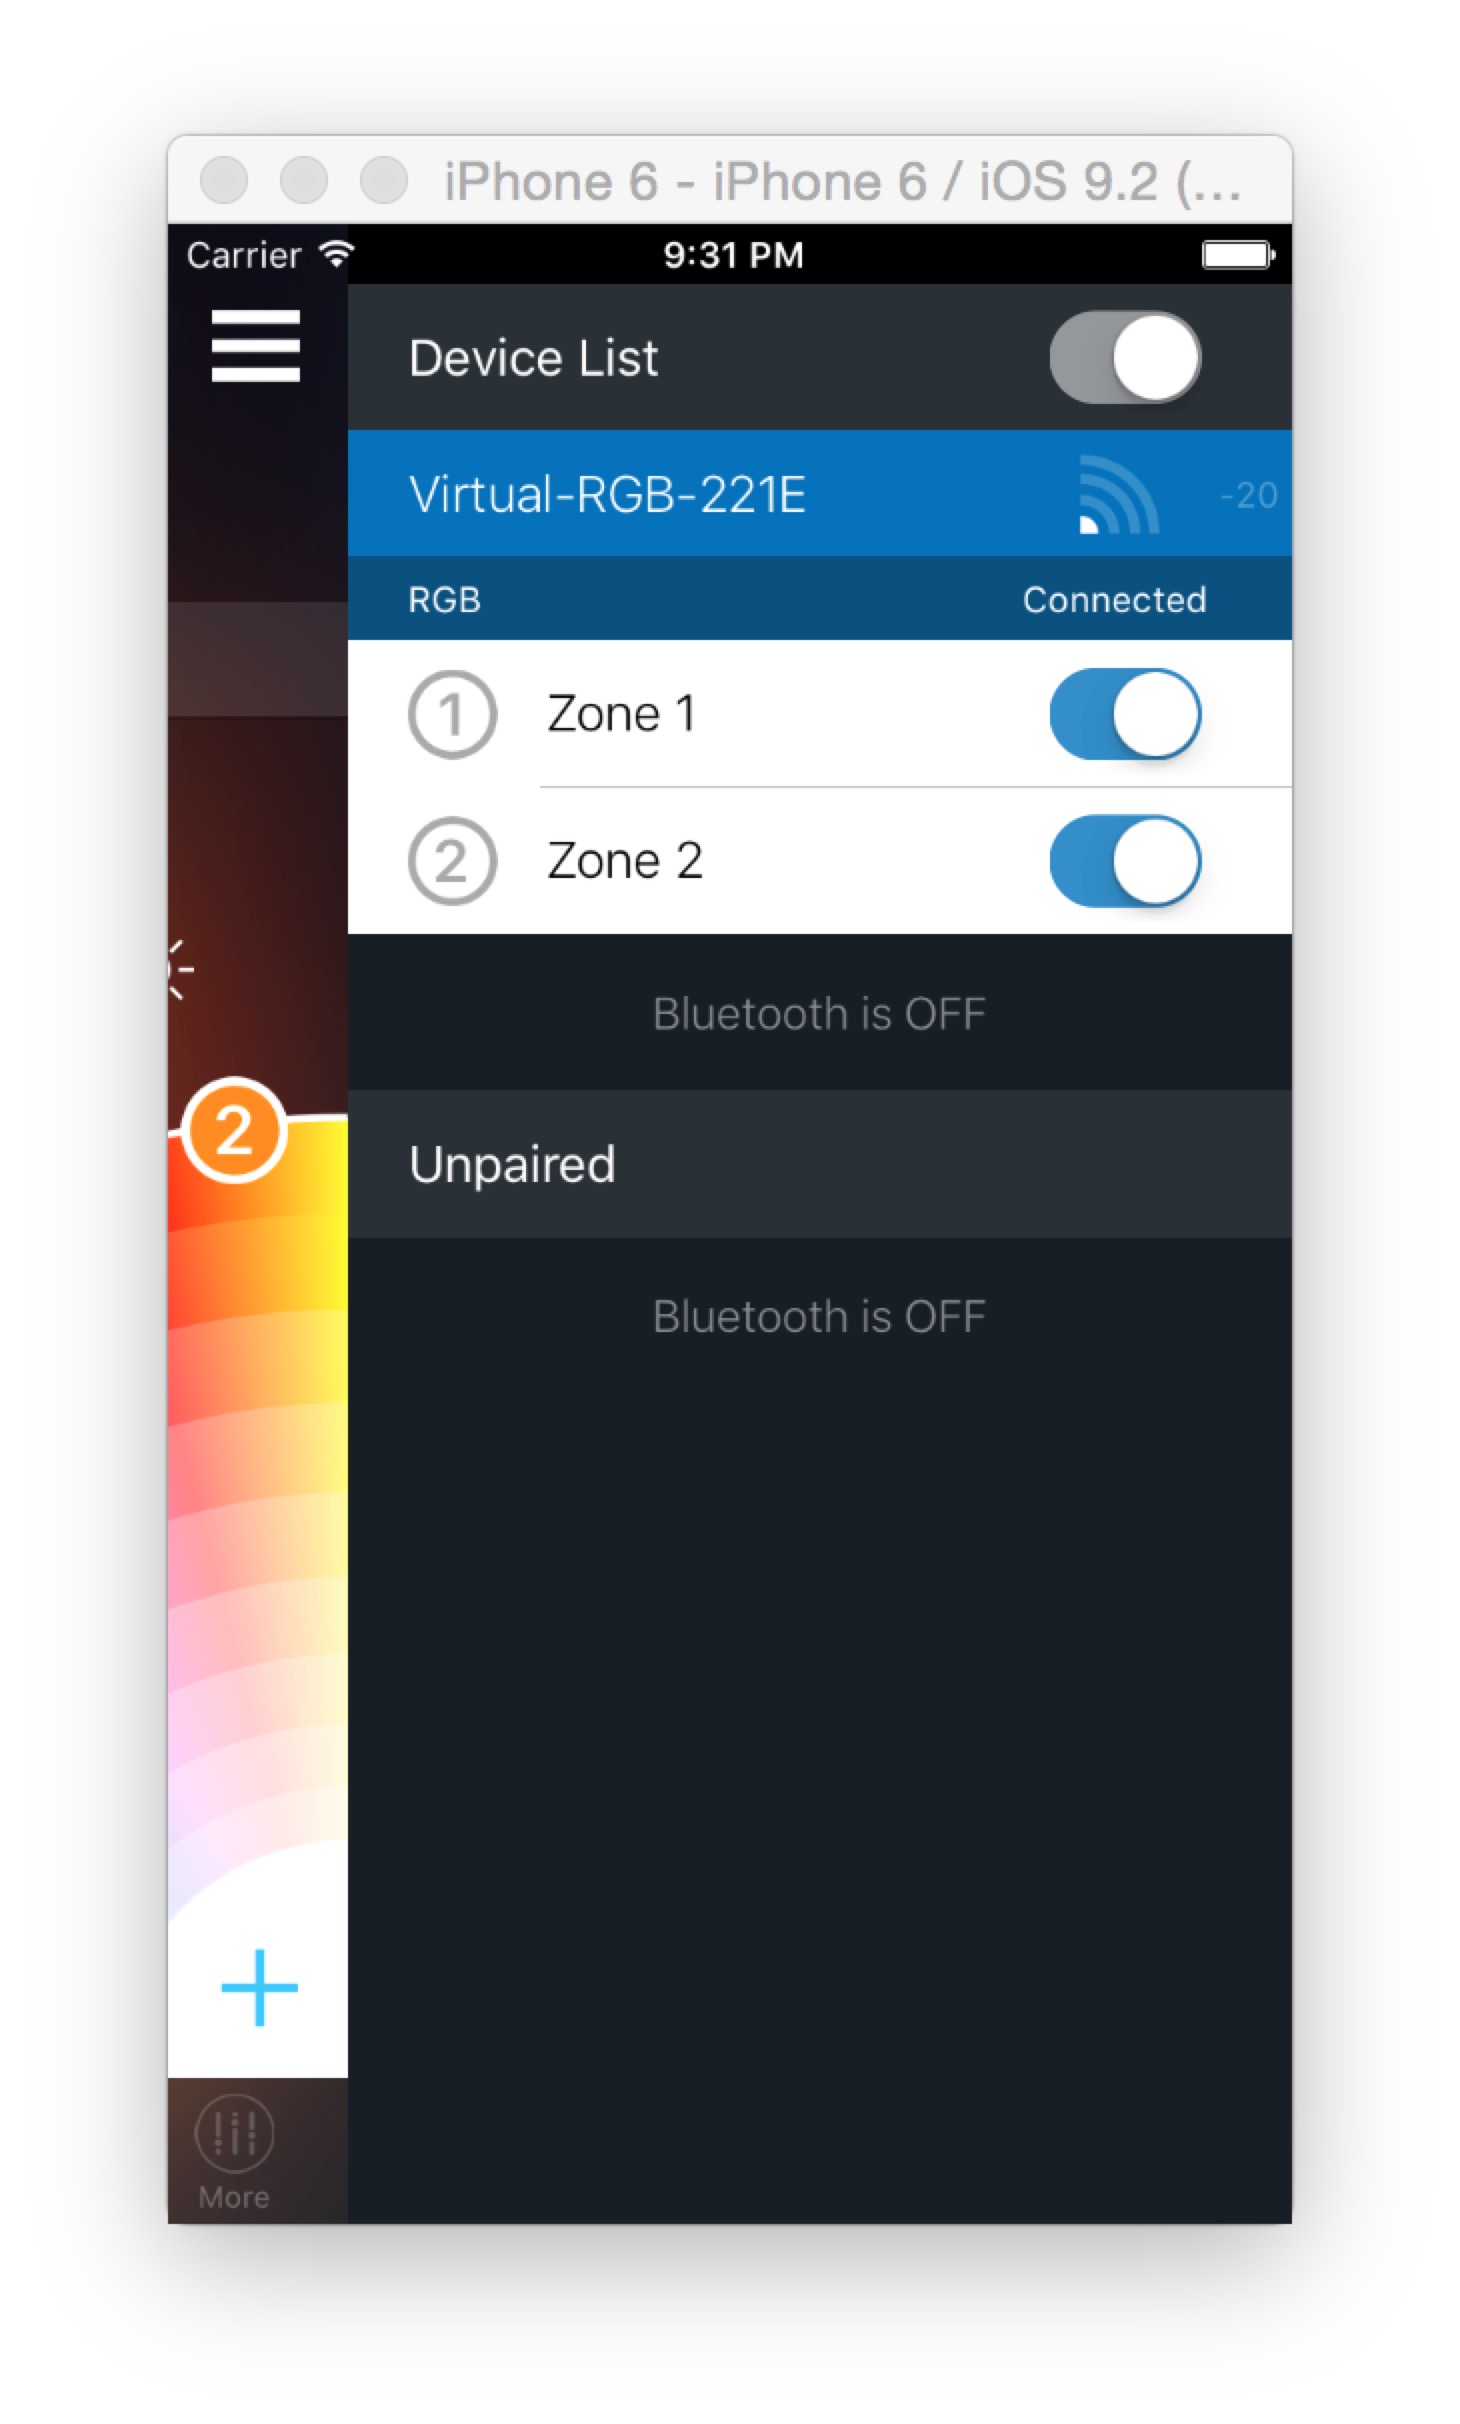
这种抽屉效果很常见,开源组件也很多。但是一般开源组件都对Controller的结构有要求,有时候不是很方便。
原理主要是:主页面加侧边栏。当弹出侧边栏时,设置主页面的x为一个负数;当收回侧边栏时,将主页面的x设置为0。再加上一些动画和手势就可以了。
初始化侧边栏
func addSidePanelController() {
        if (sidePanelController == nil) {
            sidePanelController = UIStoryboard.deviceListPanelController() // 初始化侧边栏的controller,用storyboard或者代码不是核心
            view.insertSubview(sidePanelController!.view, atIndex: 0) // 添加侧边栏view
            sidePanelController!.view.frame = CGRectMake(
                expandedOffset,
                topLayoutGuide.length,
                view.bounds.width - expandedOffset,
                view.bounds.height - topLayoutGuide.length) // 设置侧边栏frame
            addChildViewController(sidePanelController!) // 添加侧边栏controller为子controller
            sidePanelController!.didMoveToParentViewController(self)
        }
    }
处理弹出和收回
func animatePanel(shouldExpand shouldExpand: Bool) {
if (shouldExpand) {
deviceListExpanded = true
animateCenterPanelXPosition(targetPosition:
-CGRectGetWidth(mainTabController.view.frame) + expandedOffset) { _ in
self.mainTabController.childViewEnabled = false
}
} else {
animateCenterPanelXPosition(targetPosition: 0) { _ in
self.deviceListExpanded = false
self.sidePanelController!.view.removeFromSuperview()
self.sidePanelController = nil
self.mainTabController.childViewEnabled = true
}
}
}
func animateCenterPanelXPosition(targetPosition targetPosition: CGFloat, completion: ((Bool) -> Void)! = nil) {
UIView.animateWithDuration(0.5,
delay: 0,
usingSpringWithDamping: 0.8,
initialSpringVelocity: 0,
options: .CurveEaseInOut,
animations: {
self.mainTabController.view.frame.origin.x = targetPosition
}, completion: completion)
}
UITableView行展开效果
效果如图:

这个效果的原理也很简单,不展开的时候row height是某个值,展开后是另一个值,在select row的时候做一个动画就可以了
override func tableView(tableView: UITableView, heightForRowAtIndexPath indexPath: NSIndexPath) -> CGFloat {
if (indexPath == tableView.indexPathForSelectedRow) {
return Compatibility.ProductCellHeight + 87
} else {
return Compatibility.ProductCellHeight
}
}
override func tableView(tableView: UITableView, didSelectRowAtIndexPath indexPath: NSIndexPath) {
tableView.beginUpdates()
tableView.endUpdates()
}
override func tableView(tableView: UITableView, willSelectRowAtIndexPath indexPath: NSIndexPath) -> NSIndexPath? {
if indexPath == tableView.indexPathForSelectedRow {
tableView.deselectRowAtIndexPath(indexPath, animated: true)
tableView.beginUpdates()
tableView.endUpdates()
return nil
}
return indexPath
}
隐藏static cell的某个section
总的来说,对于设置为static cell的UITableView,要想动态地隐藏部分section,通过heightForXXX没有用。即使设置成0,还是会出现在界面上,只是会挤压在一起
正确的做法是,用numberOfRows方法隐藏row,用titleForHeader和titleForFooter方法隐藏header和footer
override func tableView(tableView: UITableView, numberOfRowsInSection section: Int) -> Int {

    if (section == monoPickerSection && hideMonoPicker) {
        return 0
    }

    return super.tableView(tableView, numberOfRowsInSection: section)
}

override func tableView(tableView: UITableView, titleForHeaderInSection section: Int) -> String? {

    if (section == monoPickerSection && hideMonoPicker) {
        return nil
    }

    return super.tableView(tableView, titleForHeaderInSection: section)
}

override func tableView(tableView: UITableView, titleForFooterInSection section: Int) -> String? {

    if (section == monoPickerSection && hideMonoPicker) {
        return nil
    }

    return super.tableView(tableView, titleForFooterInSection: section)
}
<script type="text/javascript">
$(function () {
$('pre.prettyprint code').each(function () {
var lines = $(this).text().split('\n').length;
var $numbering = $('<ul/>').addClass('pre-numbering').hide();
$(this).addClass('has-numbering').parent().append($numbering);
for (i = 1; i <= lines; i++) {
$numbering.append($('<li/>').text(i));
};
$numbering.fadeIn(1700);
});
});
</script>
分享到:


相关推荐
- [iOS动画和特效(一)UIView动画和CoreAnimation](http://liuyanwei.jumppo.com/2015/10/30/iOS-Animation-UIViewAndCoreAnimation.html) - [iOS动画和特效(二)UIKit力学行为]...
ios登录开门特效.zip
使用EGOTableViewPullRefresh开源项目在IOS中实现UITableView的下拉刷新功能,对源码进行了一些改动,支持中英文显示,刷新时间格式也做了修改
这是一个波浪的动画,采用sin函数完成。有需要的可以下载看看
IOS仿京东菜单功能实现
点击目录会出现相应的列表,每个列表都有相应方法。
主要可以拿来重复利用的是iOS7蒙版特效及datePicker隐藏出现动画。当然还有其它不错的功能,谁用谁知道。
iOS语音实现思路与部分代码。不是全部代码,只是思路,希望能够帮助到大家。
CSS3实现ios7计算器 CSS3实现ios7计算器网页特效.zip
ios下拉刷新功能实现
cocos2d 粒子特效 ios game
ios应用源码之一个选择器特效大全的例子:knmultiitemselector
IOS语音聊天实现 整体思路: 采集(录音)------压缩------上传web 接收-------------解压-------播放 Xcode工程添加: 添加AVFoundation Framework 为使用AVAudioRecorder类,我们需要向项目添加...
这是一个ios的重力特效的一个demo,里面包括了不同的效果
附件是苹果官网提供的几种关于重力感应方面的酷炫动画,拿去花吧
ios cocos2d+box 动画游戏制作 主要是使用做了一个人物的重拳 轻拳 大招 小招 受伤 格挡等等动作 但是没有实现移动 只是通过点击按钮 将动作一个个展现出来 其中重拳是往外抛石头 用的是box2d物理引擎实现的石头的...
iOS使用UITableView实现的富文本编辑器iOS使用UITableView实现的富文本编辑器iOS使用UITableView实现的富文本编辑器iOS使用UITableView实现的富文本编辑器iOS使用UITableView实现的富文本编辑器iOS使用UITableView...
IOS 不规则按钮实现方法 直接引用即可
一个小Demo,简单实现卡片切换效果。跟探探的好友添加界面差不多。
jquery苹果IOS滑块banner焦点图特效